Are you interested in learning how to edit your photos but don’t know where to start? This straightforward guide will teach you the basics of photo editing. First, pick the right photo editing app for beginners like Luminar AI. Many people who’ve tried this app have recommended Luminar AI for beginners. With this app, you can do everything from adjusting the color and brightness to removing blemishes and red eyes to create such a masterpiece. By following these simple tips, you will be able to improve the quality of your photos in no time. So without further ado, let’s get started.
Shoot in RAW Beforehand
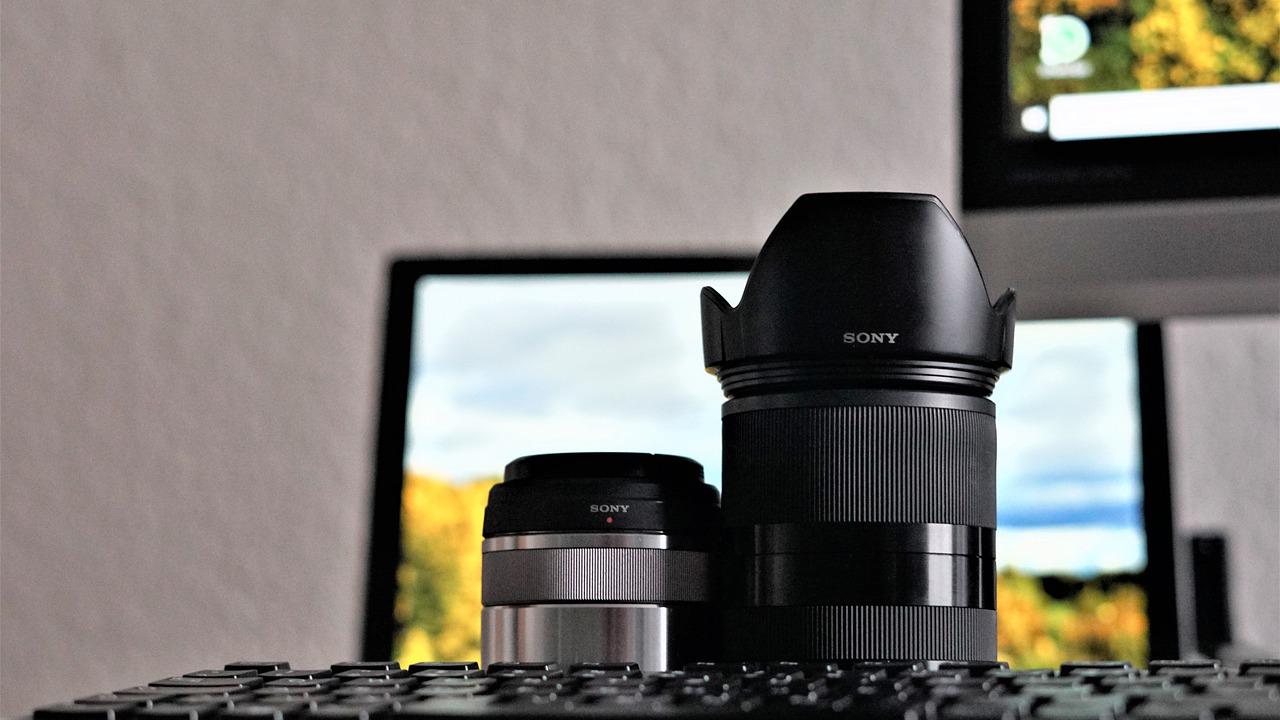
 One of the most important things you can do to set yourself up for success in photo editing is to shoot in RAW format. RAW files are unprocessed images that contain all of the data captured by your camera’s sensor. This data gives you a lot more flexibility when it comes to editing because you can make changes without affecting the quality of the image. On the other hand, JPEG files are processed images that have already been compressed. This means that when you make changes to a JPEG file, you are more likely to see a decrease in quality. So if you want to be able to make changes to your photos without sacrificing quality, be sure to shoot in RAW format.
Start by Correcting the Exposure
Aside from that, another basic photo editing tip is to start by correcting the exposure. Exposure is the overall brightness of an image. If an image is too dark, it’s underexposed. If it’s too bright, it’s overexposed. You can make a picture brighter or dimmer by adjusting the exposure to get it right. In Luminar AI, simply click on the “exposure” Adjustment Layer and use the slider to make your desired changes.
Pick the Right White Balance
Now that you’ve got the exposure sorted out, it’s time to move on to white balance. White balance is basically how your camera interprets the colors in an image. If the white balance is off, the colors in an image can look either too warm or too cool. To adjust the white balance in Luminar AI, click on the “white balance” Adjustment Layer and use the slider to make your desired changes.
Reduce Noise and Increase Sharpening
After you’ve edited the exposure and white balance, it’s time to move on to noise reduction and sharpening. Noise is a graininess that can appear in an image, especially if taken in low light. By reducing the noise in an image, you can make it look cleaner and sharper. In Luminar AI, click on the “noise reduction” Adjustment Layer and use the slider to make your desired changes. As for sharpening, this technique can make an image look sharper and more defined. To sharpen an image in Luminar AI, click on the “sharpening” Adjustment Layer and use the slider to make your desired changes.
As you can see, there are many different things that you can do to edit your photos. But don’t worry, you don’t need to learn everything all at once. Just take it one step at a time, and eventually, you’ll be able to master all of the different photo editing techniques. So get your phone or laptop and start editing.